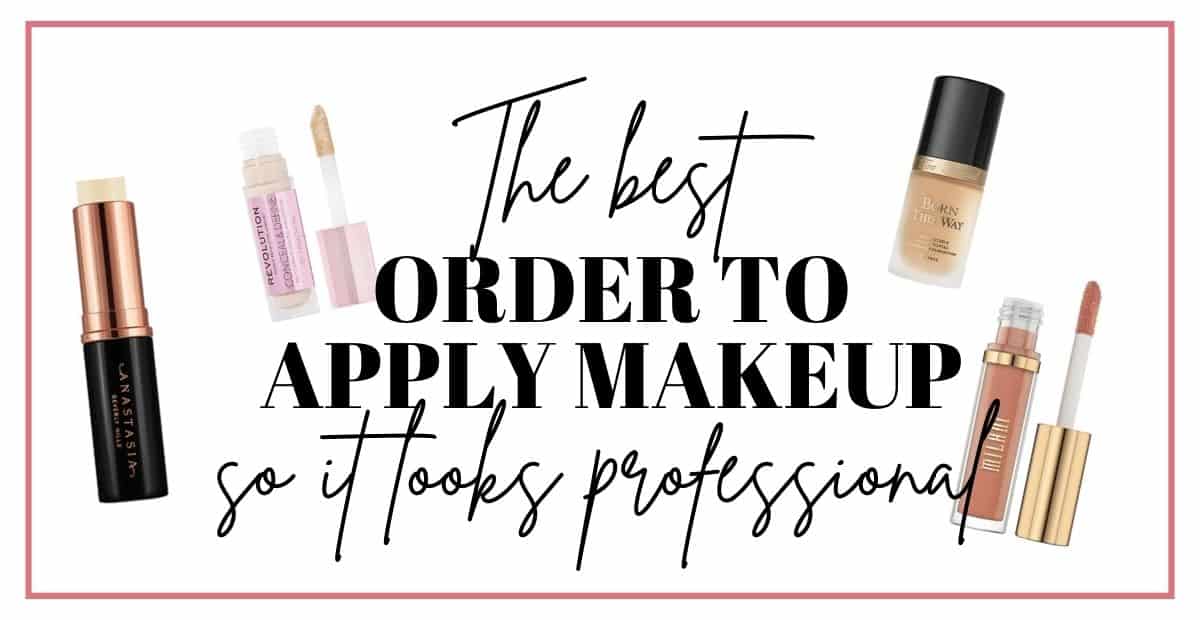
The Art of Application: A Comprehensive Guide to Makeup Order
Related Articles: The Art of Application: A Comprehensive Guide to Makeup Order
Introduction
In this auspicious occasion, we are delighted to delve into the intriguing topic related to The Art of Application: A Comprehensive Guide to Makeup Order. Let’s weave interesting information and offer fresh perspectives to the readers.
Table of Content
The Art of Application: A Comprehensive Guide to Makeup Order

The application of makeup is a meticulous art form, demanding a specific order to achieve a flawless and lasting result. Understanding the rationale behind each step and its relation to the next is crucial for maximizing both the aesthetic and longevity of your makeup. This guide delves into the intricacies of makeup order, providing a detailed breakdown of each step and its significance.
Step 1: Skincare Foundation – The Canvas for Your Creation
Before embarking on the journey of makeup application, it is imperative to establish a clean and prepped canvas – your skin. A robust skincare routine forms the bedrock of any successful makeup application.
- Cleansing: Start by removing any impurities or traces of previous makeup with a gentle cleanser suited to your skin type.
- Toning: Follow with a toner to balance the skin’s pH level, refining pores and preparing it for the next steps.
- Serums and Treatments: Address specific skin concerns with targeted serums and treatments, such as hydrating serums for dry skin or vitamin C serums for brightening.
- Moisturizer: Hydrate the skin thoroughly with a moisturizer that complements your skin type, ensuring a smooth and supple base for makeup application.
- Eye Cream: Apply a dedicated eye cream to address concerns like dark circles or fine lines, promoting a brighter and more youthful appearance.
Step 2: Prime Time – Enhancing the Longevity and Finish
Primers act as a crucial intermediary between skincare and makeup, smoothing the skin’s surface, minimizing the appearance of pores, and extending the wear of your makeup.
- Purpose: Primers create a barrier between your skin and makeup, preventing it from settling into fine lines or pores. They also help to control oil production, reducing shine throughout the day.
- Types: Primers come in various formulations to address specific concerns. Silicone-based primers provide a smooth, poreless finish, while mattifying primers control oil production. Color-correcting primers can neutralize redness or uneven skin tone.
- Application: Apply a thin layer of primer to your entire face, focusing on areas prone to oiliness or wrinkles.
Step 3: Eyeshadow – The Foundation of Eye Makeup
Eyeshadow serves as the canvas for eye makeup, allowing for endless creative possibilities. Applying it before foundation and concealer helps to prevent fallout from contaminating your base makeup.
- Base Shadow: Start with a neutral base shadow, applying it to the entire eyelid to create a smooth and even base for other colors.
- Transition Shade: Blend a transition shade, usually a light matte or shimmery color, into the crease of your eye to create depth and dimension.
- Crease Color: Apply a darker shade to the crease, blending it upwards and outwards to define the eye shape.
- Lid Color: Choose a bright or bold color for the center of the eyelid, blending it seamlessly with the other shades.
- Eyeliner: Use an eyeliner pencil or liquid liner to define the lash line and create a more dramatic look.
Step 4: Foundation – Creating a Flawless Canvas
Foundation serves as the unifying element, evening out skin tone and providing a smooth base for the remaining makeup.
- Choosing the Right Shade: Selecting the correct foundation shade is paramount. Test the foundation on your jawline under natural light to find the closest match to your skin tone.
- Application Techniques: Apply foundation with a brush, sponge, or your fingertips, blending it outwards and downwards to create a seamless finish.
- Coverage: Choose a foundation with the appropriate level of coverage for your needs. Light coverage provides a natural finish, while full coverage conceals blemishes and imperfections.
Step 5: Concealer – Masking Imperfections
Concealer is a targeted tool for masking imperfections, brightening the under-eye area, and concealing blemishes.
- Types: There are various types of concealers available, including liquid, cream, and stick formulas. Choose the type that best suits your needs and desired finish.
- Application: Apply concealer with a brush or sponge, focusing on areas that require extra coverage. Blend carefully to avoid harsh lines.
Step 6: Powder – Setting and Mattifying
Powder sets your makeup, preventing it from creasing or fading throughout the day. It also absorbs excess oil, creating a matte finish.
- Types: Loose powder provides a light and airy finish, while pressed powder offers a more compact and travel-friendly option.
- Application: Use a large, fluffy brush to apply powder all over the face, focusing on areas prone to shine.
Step 7: Bronzer – Adding Warmth and Dimension
Bronzer simulates a natural tan, adding warmth and definition to the face.
- Application: Apply bronzer to the hollows of your cheeks, temples, and jawline, blending it upwards and outwards to create a natural-looking contour.
Step 8: Blush – Achieving a Rosy Glow
Blush adds a touch of color and vibrancy to the cheeks, mimicking the natural flush of the skin.
- Application: Apply blush to the apples of your cheeks, blending it upwards and outwards towards the temples.
Step 9: Highlight – Emphasizing Facial Features
Highlight illuminates and emphasizes specific facial features, adding a touch of radiance.
- Application: Apply highlighter to the cheekbones, brow bones, cupid’s bow, and bridge of the nose, blending it seamlessly to create a subtle glow.
Step 10: Eyeliner – Defining and Enhancing
Eyeliner defines the eyes, creating a more dramatic or subtle look depending on the application technique.
- Types: There are various types of eyeliners available, including pencil, liquid, and gel formulas. Choose the type that best suits your desired look and skill level.
- Application: Apply eyeliner along the lash line, extending it outwards to create a wing if desired.
Step 11: Mascara – Lengthening and Volumizing
Mascara adds volume and length to the lashes, enhancing the eyes and creating a more defined look.
- Types: There are various types of mascaras available, including volumizing, lengthening, and curling formulas. Choose the type that best suits your needs and desired effect.
- Application: Apply mascara to the upper lashes, wiggling the wand from root to tip to create volume and length.
Step 12: Setting Spray – Securing Your Masterpiece
Setting spray locks in your makeup, preventing it from fading or creasing throughout the day.
- Application: Mist your face with setting spray from a distance, allowing it to dry naturally.
FAQs
Q: Can I skip primer?
A: While skipping primer is possible, it is not recommended as it can compromise the longevity and overall finish of your makeup.
Q: Is it necessary to use powder?
A: Powder is not strictly necessary, but it can help to set your makeup and control oil production, making it a valuable step for many individuals.
Q: What order should I apply eyeshadow and eyeliner?
A: Applying eyeshadow before eyeliner allows for greater control and prevents eyeshadow fallout from contaminating your eyeliner.
Q: Can I skip foundation?
A: Skipping foundation is possible for individuals with naturally flawless skin, but it is not recommended for those seeking to even out skin tone or conceal imperfections.
Q: How do I choose the right foundation shade?
A: Test the foundation on your jawline under natural light to find the closest match to your skin tone.
Q: What is the difference between concealer and foundation?
A: Concealer is a targeted tool for masking imperfections, while foundation provides an overall even base for your makeup.
Tips
- Clean your brushes regularly: Clean your makeup brushes regularly to prevent the buildup of bacteria and product, ensuring a hygienic application and preventing breakouts.
- Use a mirror with good lighting: Applying makeup in good lighting is crucial for achieving a balanced and natural-looking result.
- Blend, blend, blend: Blending is essential for achieving a seamless and flawless finish. Use a variety of brushes and sponges to blend your makeup thoroughly.
- Less is more: Start with a light application of each product, building up the intensity as needed.
- Don’t be afraid to experiment: Makeup is a form of self-expression. Experiment with different products and techniques to find what works best for you.
Conclusion
Mastering the art of makeup application is a journey, requiring patience, practice, and a keen understanding of the order and purpose of each step. By following this comprehensive guide and refining your technique over time, you can achieve a flawless and lasting makeup look that enhances your natural beauty and reflects your individual style. Remember, the key to success lies in creating a smooth and prepped canvas, applying products in the correct order, and blending seamlessly for a natural and radiant finish.


Closure
Thus, we hope this article has provided valuable insights into The Art of Application: A Comprehensive Guide to Makeup Order. We appreciate your attention to our article. See you in our next article!