Mastering Makeup for Oily Skin: A Step-by-Step Guide
Related Articles: Mastering Makeup for Oily Skin: A Step-by-Step Guide
Introduction
With enthusiasm, let’s navigate through the intriguing topic related to Mastering Makeup for Oily Skin: A Step-by-Step Guide. Let’s weave interesting information and offer fresh perspectives to the readers.
Table of Content
Mastering Makeup for Oily Skin: A Step-by-Step Guide
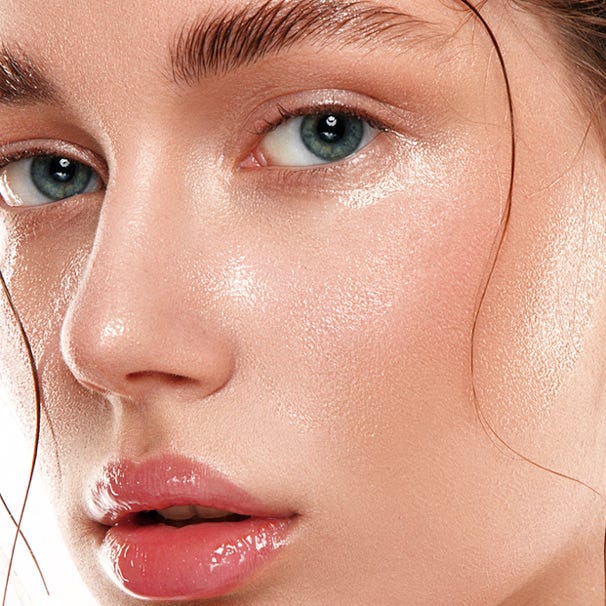
Oily skin presents unique challenges for makeup application, often resulting in a shiny, greasy appearance that can undermine even the most carefully crafted look. However, with the right products and techniques, achieving a flawless, long-lasting finish is entirely achievable. This comprehensive guide delves into the intricacies of makeup for oily skin, providing a step-by-step approach to achieving a matte, radiant complexion.
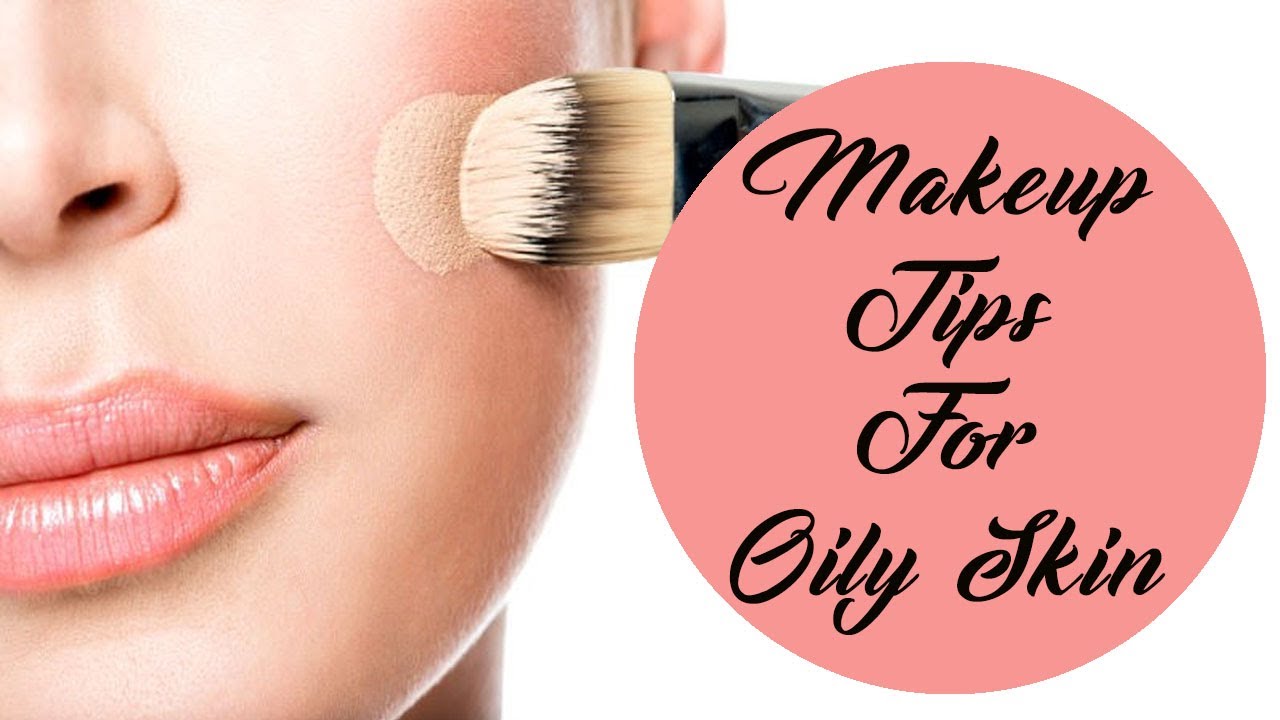
Step 1: Foundation – The Base for a Matte Finish
The foundation is the cornerstone of any makeup routine, and for oily skin, choosing the right formula is paramount. Opt for oil-free, matte foundations with a lightweight texture. These formulations are designed to minimize shine and provide a smooth, even canvas for subsequent makeup application.
Types of Foundations for Oily Skin:
- Water-based foundations: These lightweight formulas are ideal for oily skin as they absorb quickly without clogging pores. They provide a natural, dewy finish while effectively controlling shine.
- Powder foundations: Powder foundations offer excellent oil absorption and a matte finish. They are particularly beneficial for individuals with very oily skin as they help to set makeup and prevent it from sliding around.
- Matte foundations with a satin finish: These foundations offer a balance between matte and dewy, providing a natural-looking finish without excessive shine.
Application Tips:
- Use a foundation brush or sponge: These tools help to distribute foundation evenly and prevent excess product from clogging pores.
- Apply sparingly: Start with a small amount of foundation and build up coverage as needed.
- Set with powder: Using a translucent powder to set your foundation will help to absorb excess oil and extend the wear time of your makeup.
Step 2: Concealer – Targeting Imperfections
Concealer plays a crucial role in concealing blemishes, dark circles, and other imperfections. For oily skin, it is essential to choose a formula that is oil-free and long-lasting.
Types of Concealers for Oily Skin:
- Cream concealers: Cream concealers provide excellent coverage and blend seamlessly into the skin. However, it is crucial to set them with powder to prevent them from creasing or sliding around.
- Powder concealers: Powder concealers are ideal for oily skin as they offer a matte finish and help to absorb excess oil.
- Liquid concealers: Liquid concealers can be a good option for oily skin, but it is essential to choose a formula that is oil-free and long-lasting.
Application Tips:
- Apply with a small brush or sponge: This allows for precise application and prevents excess product from being used.
- Blend carefully: Blend the concealer into the surrounding skin using gentle patting motions to avoid disturbing the foundation.
- Set with powder: Setting the concealer with powder will help to prevent creasing and extend its wear time.
Step 3: Powder – The Key to Oil Control
Powder is an essential tool for controlling oil and setting makeup for oily skin. It absorbs excess oil, creates a matte finish, and helps to prevent makeup from sliding around.
Types of Powders for Oily Skin:
- Translucent powder: Translucent powder is colorless and can be used to set all makeup without altering the color.
- Matte powder: Matte powder provides a matte finish and helps to absorb excess oil.
- Pressed powder: Pressed powder is a convenient option for touch-ups throughout the day.
Application Tips:
- Apply with a large powder brush: This helps to distribute the powder evenly and avoid a cakey appearance.
- Use a light hand: Start with a small amount of powder and build up coverage as needed.
- Reapply throughout the day: Use a blotting paper to absorb excess oil and then apply a light layer of powder to refresh your makeup.
Step 4: Eyeshadow – Enhancing the Eyes
Eyeshadow can be applied without fear of excessive oiliness, as the eyelids are typically less oily than the T-zone. However, choosing the right formula and application technique is crucial to ensure a long-lasting look.
Types of Eyeshadows for Oily Skin:
- Cream eyeshadows: Cream eyeshadows are a good option for oily skin as they tend to be more long-lasting than powder eyeshadows. However, it is essential to set them with powder to prevent them from creasing.
- Powder eyeshadows: Powder eyeshadows are a classic choice for all skin types, including oily skin. They offer a wide range of colors and finishes, and can be easily blended.
- Eyeshadow primer: Using an eyeshadow primer before applying eyeshadow will help to create a smooth, even surface for eyeshadow to adhere to and prevent creasing.
Application Tips:
- Apply eyeshadow primer: Eyeshadow primer is essential for oily skin as it helps to create a smooth surface for eyeshadow to adhere to and prevent creasing.
- Use a blending brush: A blending brush is essential for creating seamless transitions between eyeshadow colors.
- Set with powder: Setting the eyeshadow with powder will help to prevent creasing and extend its wear time.
Step 5: Blush – Adding a Flush of Color
Blush adds a natural-looking flush of color to the cheeks. For oily skin, it is essential to choose a formula that is long-lasting and does not accentuate shine.
Types of Blush for Oily Skin:
- Powder blush: Powder blush is a classic choice for oily skin as it offers a matte finish and helps to absorb excess oil.
- Cream blush: Cream blush can be a good option for oily skin, but it is essential to choose a formula that is oil-free and long-lasting.
Application Tips:
- Apply with a blush brush: A blush brush helps to distribute the blush evenly and blend it seamlessly into the skin.
- Smile and apply blush to the apples of your cheeks: This helps to ensure that the blush is applied in the correct location.
- Blend carefully: Blend the blush outwards and upwards towards the temples to create a natural-looking flush.
Step 6: Eyeliner – Defining the Eyes
Eyeliner is an essential tool for defining the eyes and creating a variety of looks. For oily skin, it is crucial to choose a formula that is long-lasting and smudge-proof.
Types of Eyeliner for Oily Skin:
- Gel eyeliner: Gel eyeliner is a good option for oily skin as it is long-lasting and smudge-proof.
- Liquid eyeliner: Liquid eyeliner can be a good option for oily skin, but it is essential to choose a formula that is oil-free and long-lasting.
- Pencil eyeliner: Pencil eyeliner is a good option for oily skin if you choose a formula that is waterproof and smudge-proof.
Application Tips:
- Use a steady hand: When applying eyeliner, it is essential to use a steady hand to create a clean, precise line.
- Start with a thin line: Start with a thin line and build up the intensity as needed.
- Set with powder: Setting the eyeliner with powder will help to prevent smudging and extend its wear time.
Step 7: Mascara – Enhancing the Lashes
Mascara adds volume and definition to the lashes. For oily skin, it is essential to choose a formula that is long-lasting and waterproof.
Types of Mascara for Oily Skin:
- Waterproof mascara: Waterproof mascara is essential for oily skin as it prevents smudging and running.
- Mascara primer: Mascara primer helps to create a smooth surface for mascara to adhere to and prevent smudging.
Application Tips:
- Wiggle the wand at the base of the lashes: This helps to coat each lash evenly and create volume.
- Apply multiple coats: Apply multiple coats of mascara to build up volume and definition.
- Use a lash comb: A lash comb helps to separate lashes and prevent clumps.
Step 8: Setting Spray – Locking in the Look
Setting spray is the final step in any makeup routine, and it is particularly important for oily skin. It helps to lock in makeup, prevent smudging, and extend the wear time of the look.
Types of Setting Sprays for Oily Skin:
- Matte setting spray: Matte setting spray helps to control oil and create a matte finish.
- Long-lasting setting spray: Long-lasting setting spray helps to extend the wear time of makeup and prevent it from fading.
Application Tips:
- Hold the bottle about 10 inches away from your face: This helps to ensure that the setting spray is applied evenly.
- Spray in a "T" or "X" pattern: This helps to ensure that the setting spray reaches all areas of the face.
- Allow the setting spray to dry completely: Before applying any additional makeup, allow the setting spray to dry completely.
FAQs about Makeup for Oily Skin
Q: How often should I wash my face if I have oily skin?
A: Washing your face twice a day, once in the morning and once in the evening, is recommended for oily skin. Use a gentle, oil-free cleanser and avoid harsh scrubs.
Q: What are the best products for oily skin?
A: Look for oil-free, mattifying products that are designed for oily skin. These products will help to control shine, absorb excess oil, and prevent breakouts.
Q: How can I prevent my makeup from sliding around on my oily skin?
A: Using a primer, setting powder, and setting spray will help to prevent makeup from sliding around.
Q: What are some tips for applying makeup on oily skin?
A:
- Use a foundation brush or sponge: These tools help to distribute foundation evenly and prevent excess product from clogging pores.
- Apply sparingly: Start with a small amount of product and build up coverage as needed.
- Set with powder: Using a translucent powder to set your foundation will help to absorb excess oil and extend the wear time of your makeup.
- Use a blotting paper to absorb excess oil: Blotting paper can help to refresh your makeup throughout the day.
Q: What are some common mistakes to avoid when applying makeup on oily skin?
A:
- Using too much product: This can clog pores and lead to breakouts.
- Not setting your makeup with powder: This can cause your makeup to slide around and fade quickly.
- Using oil-based products: These products can exacerbate oiliness and lead to shine.
Conclusion
Mastering makeup for oily skin requires a strategic approach, focusing on oil-free, matte formulas and meticulous application techniques. By following the steps outlined in this guide, individuals with oily skin can achieve a flawless, long-lasting finish that minimizes shine and maximizes confidence. Remember, the key to success lies in choosing the right products and techniques to suit your individual needs, embracing the journey of finding the perfect makeup routine for your unique skin type.


Closure
Thus, we hope this article has provided valuable insights into Mastering Makeup for Oily Skin: A Step-by-Step Guide. We thank you for taking the time to read this article. See you in our next article!