Crafting Your Own Cosmetics: A Guide to DIY Beauty
Related Articles: Crafting Your Own Cosmetics: A Guide to DIY Beauty
Introduction
In this auspicious occasion, we are delighted to delve into the intriguing topic related to Crafting Your Own Cosmetics: A Guide to DIY Beauty. Let’s weave interesting information and offer fresh perspectives to the readers.
Table of Content
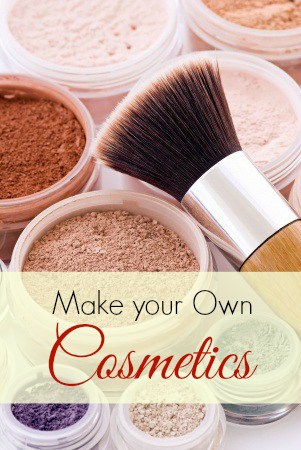
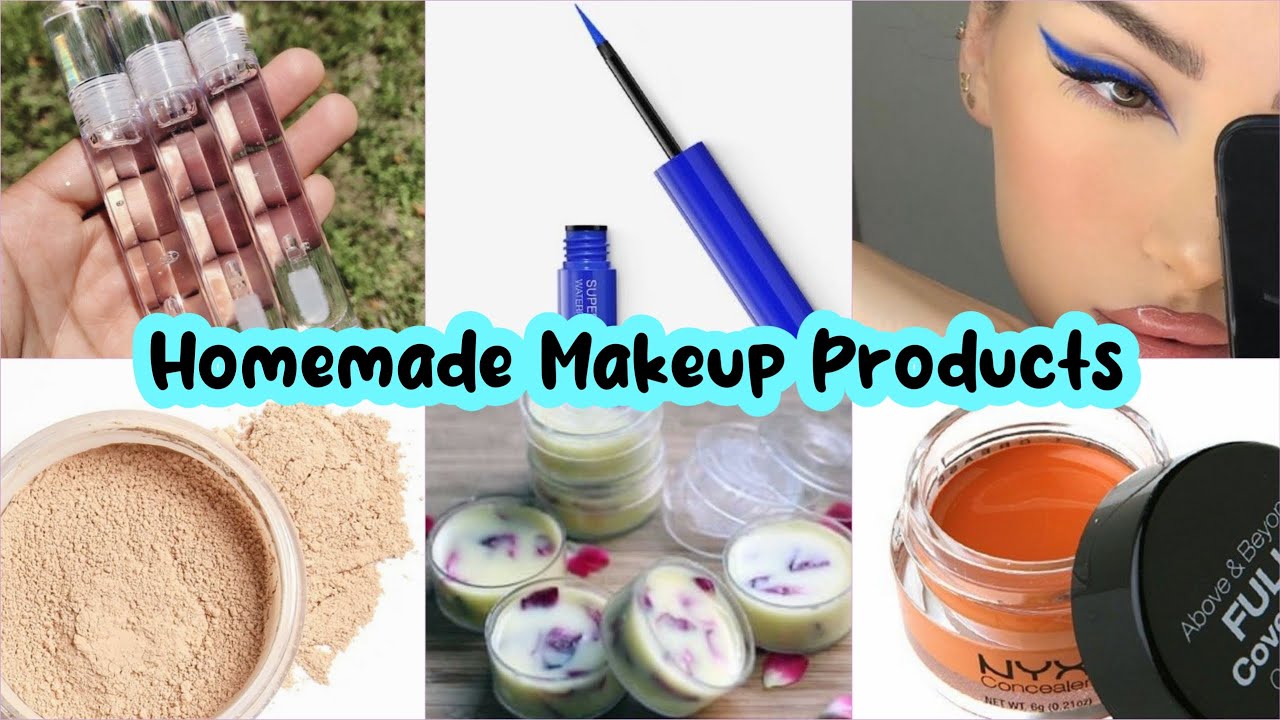
Crafting Your Own Cosmetics: A Guide to DIY Beauty
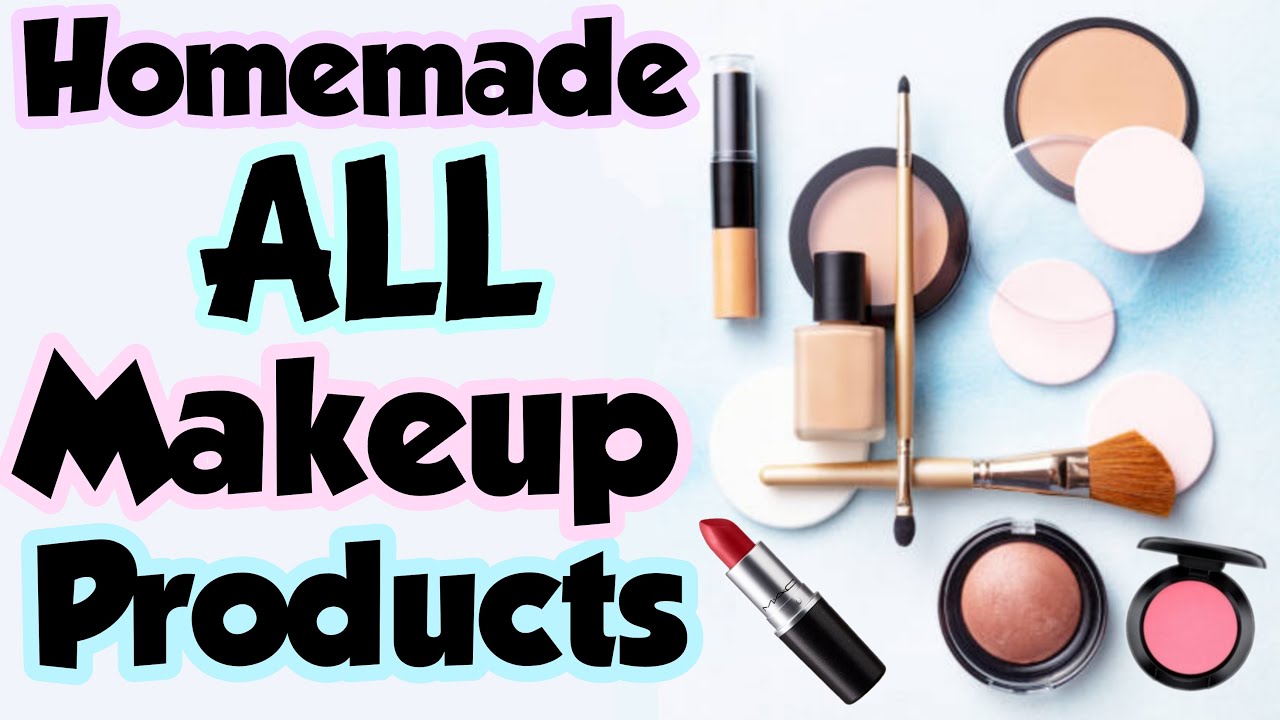
The allure of personalized beauty is undeniable. In an era of mass-produced cosmetics, the desire to create products tailored to individual needs and preferences is gaining momentum. Crafting your own makeup at home offers a unique opportunity to embrace this trend, allowing for greater control over ingredients, customization, and even cost-effectiveness. This comprehensive guide delves into the world of homemade cosmetics, providing a detailed exploration of techniques, benefits, and considerations.
Understanding the Allure of Homemade Cosmetics
The appeal of DIY cosmetics extends beyond mere cost-savings. It encompasses a desire for transparency, control, and the satisfaction of creating something unique.
- Ingredient Transparency: Homemade cosmetics allow for complete control over the ingredients used. This empowers individuals to avoid potentially harmful chemicals, synthetic fragrances, and other additives found in commercially available products.
- Personalized Customization: The ability to tailor formulas to specific skin types, concerns, and preferences is a key advantage of DIY cosmetics. Whether it’s creating a foundation shade perfectly matched to one’s complexion or crafting a lip balm with a specific scent, the possibilities for personalization are endless.
- Cost-Effectiveness: While initial investments in raw materials are necessary, crafting your own makeup can prove cost-effective in the long run. This is particularly true for individuals who frequently purchase high-end cosmetics.
- Creative Expression: The process of creating cosmetics is inherently creative. It allows for experimentation with different textures, colors, and scents, fostering a sense of personal expression and artistic fulfillment.
The Fundamentals of DIY Cosmetics
Before embarking on the journey of crafting your own makeup, understanding the fundamental principles is crucial. This includes knowledge of:
- Ingredient Properties: Recognizing the properties of different ingredients is essential for formulating effective and safe cosmetics. Researching the benefits and potential drawbacks of each ingredient is crucial.
- Safety and Preservation: Maintaining the safety and stability of homemade cosmetics requires adherence to proper hygiene practices, sterilization techniques, and the use of preservatives when necessary.
- Formulating Techniques: Understanding basic formulation techniques, such as mixing ratios, emulsifying processes, and the use of binders and stabilizers, is essential for creating products with desired textures and consistency.
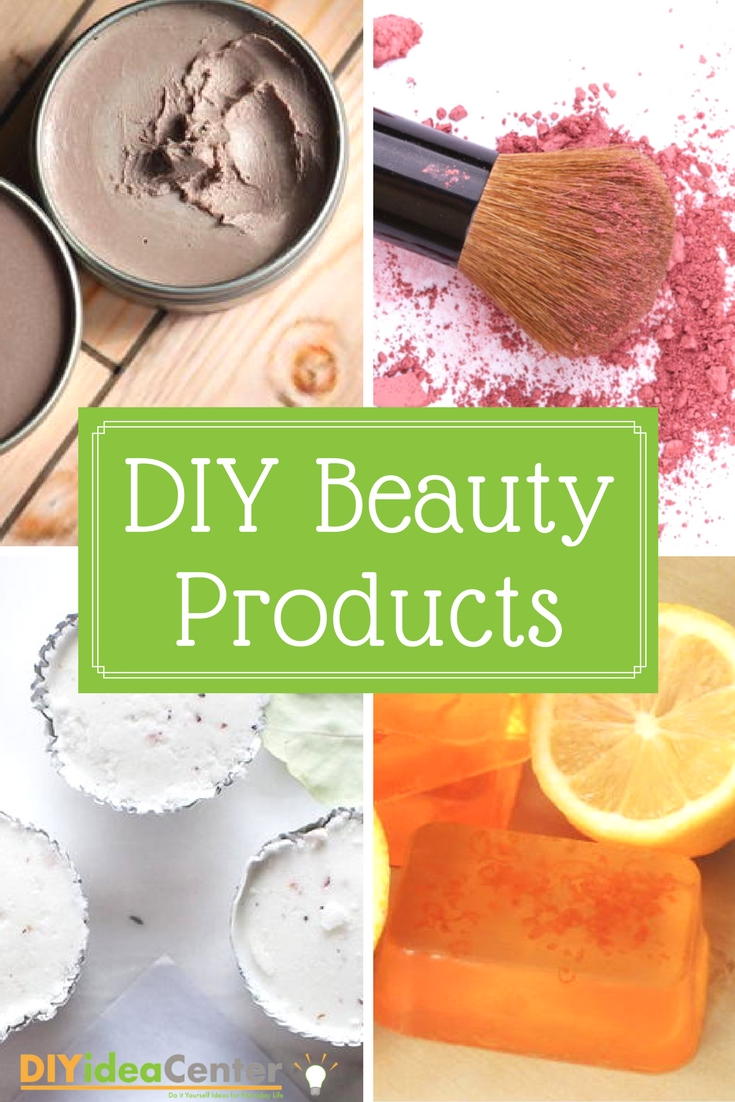
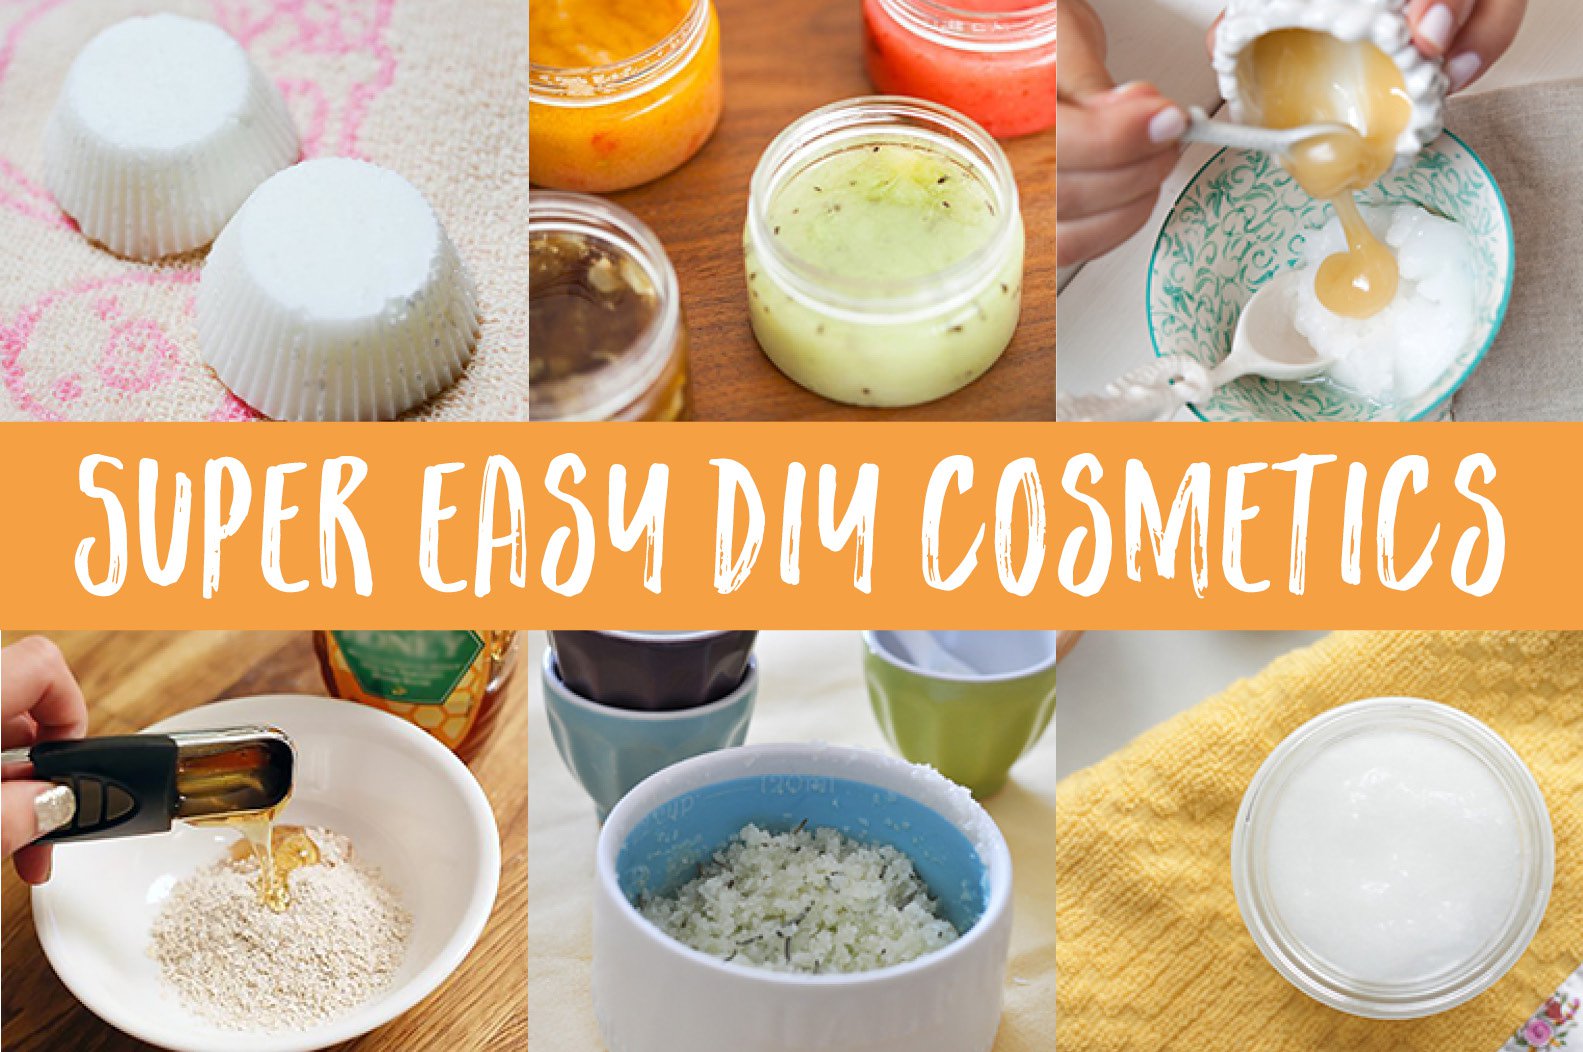
A Comprehensive Guide to DIY Makeup Recipes
The following sections provide detailed recipes for crafting various makeup essentials at home:
1. Foundation:
-
Ingredients:
-
For a cream foundation:
- 1 tablespoon beeswax
- 1 tablespoon shea butter
- 1 tablespoon jojoba oil
- 1 teaspoon cocoa powder (for darker shades) or zinc oxide (for lighter shades)
- 1/2 teaspoon iron oxide (for color adjustment)
- Optional: 1/4 teaspoon mica powder (for shimmer)
-
For a powder foundation:
- 1 tablespoon arrowroot powder
- 1 tablespoon cornstarch
- 1/2 tablespoon cocoa powder (for darker shades) or zinc oxide (for lighter shades)
- 1/4 teaspoon iron oxide (for color adjustment)
- Optional: 1/4 teaspoon mica powder (for shimmer)
-
For a cream foundation:
-
Instructions:
-
Cream Foundation:
- Combine beeswax, shea butter, and jojoba oil in a double boiler and heat until melted.
- Remove from heat and add cocoa powder or zinc oxide, iron oxide, and optional mica powder.
- Stir until well combined and pour into a clean container.
- Allow to cool and solidify before use.
-
Powder Foundation:
- Combine all ingredients in a bowl and whisk until thoroughly blended.
- Transfer the mixture to a clean container with a sifter lid.
- Apply with a makeup brush or sponge.
-
Cream Foundation:
2. Blush:
-
Ingredients:
- 1 tablespoon arrowroot powder
- 1/2 tablespoon beetroot powder (for a natural pink blush) or hibiscus powder (for a vibrant red blush)
- Optional: 1/4 teaspoon mica powder (for shimmer)
-
Instructions:
- Combine all ingredients in a bowl and whisk until thoroughly blended.
- Transfer the mixture to a clean container with a sifter lid.
- Apply with a blush brush.
3. Eyeshadow:
-
Ingredients:
- 1 tablespoon arrowroot powder
- 1/2 tablespoon eyeshadow pigment of your choice (available online or at craft stores)
- Optional: 1/4 teaspoon mica powder (for shimmer)
-
Instructions:
- Combine all ingredients in a bowl and whisk until thoroughly blended.
- Transfer the mixture to a clean container with a sifter lid.
- Apply with an eyeshadow brush.
4. Lipstick:
-
Ingredients:
- 1 tablespoon beeswax
- 1 tablespoon shea butter
- 1 teaspoon cocoa butter
- 1/2 teaspoon beetroot powder (for a natural pink lipstick) or hibiscus powder (for a vibrant red lipstick)
- Optional: 1/4 teaspoon mica powder (for shimmer)
-
Instructions:
- Combine beeswax, shea butter, and cocoa butter in a double boiler and heat until melted.
- Remove from heat and add beetroot powder or hibiscus powder, and optional mica powder.
- Stir until well combined and pour into a clean lip balm tube or container.
- Allow to cool and solidify before use.
5. Lip Balm:
-
Ingredients:
- 1 tablespoon beeswax
- 1 tablespoon shea butter
- 1 tablespoon coconut oil
- Optional: 1/4 teaspoon essential oil of your choice (for fragrance)
-
Instructions:
- Combine beeswax, shea butter, and coconut oil in a double boiler and heat until melted.
- Remove from heat and add optional essential oil.
- Stir until well combined and pour into a clean lip balm tube or container.
- Allow to cool and solidify before use.
6. Mascara:
-
Ingredients:
- 1 tablespoon activated charcoal powder
- 1/2 tablespoon aloe vera gel
- 1/4 teaspoon vitamin E oil
- 1/4 teaspoon distilled water
-
Instructions:
- Combine all ingredients in a small bowl and whisk until a smooth paste is formed.
- Transfer the mixture to a clean mascara tube.
- Apply with a clean mascara wand.
7. Eyeliner:
-
Ingredients:
- 1 tablespoon arrowroot powder
- 1/2 tablespoon black or brown eyeshadow pigment
- 1/4 teaspoon distilled water
-
Instructions:
- Combine all ingredients in a small bowl and whisk until a smooth paste is formed.
- Transfer the mixture to a clean eyeliner pot or container.
- Apply with a small eyeliner brush.
8. Setting Spray:
-
Ingredients:
- 1/2 cup distilled water
- 1 tablespoon aloe vera gel
- 1/2 teaspoon witch hazel
- 1/4 teaspoon glycerin
-
Instructions:
- Combine all ingredients in a spray bottle and shake well.
- Mist over your face after applying makeup to set it.
Safety and Preservation Considerations
- Hygiene: Maintaining a clean workspace and sterilizing all tools and containers is essential for preventing contamination.
- Preservatives: While many homemade cosmetics can be preserved naturally, others require the addition of preservatives to extend their shelf life. Research the appropriate preservatives for your specific formulations and use them in accordance with recommended guidelines.
- Patch Testing: Before applying any new homemade cosmetic to your entire face, perform a patch test on a small area of skin to check for any allergic reactions.
Benefits Beyond the Cosmetic
The benefits of creating your own makeup extend beyond the tangible products.
- Empowerment and Knowledge: The process fosters a deeper understanding of cosmetic ingredients and their effects on the skin.
- Environmental Consciousness: Crafting your own cosmetics reduces reliance on single-use packaging and contributes to a more sustainable approach to beauty.
- Stress Relief and Mindfulness: The act of creating something with your own hands can be therapeutic and provide a sense of calm and fulfillment.
FAQs Regarding Homemade Cosmetics
1. How long do homemade cosmetics last?
The shelf life of homemade cosmetics varies depending on the ingredients and preservation methods used. Generally, it is recommended to store them in a cool, dark place and use them within 6-12 months.
2. Are homemade cosmetics safe for sensitive skin?
While homemade cosmetics can be beneficial for sensitive skin, it is crucial to use gentle, natural ingredients and patch test before applying them to the entire face.
3. What are the best ingredients for homemade cosmetics?
Commonly used ingredients include beeswax, shea butter, coconut oil, aloe vera gel, arrowroot powder, and various natural pigments. Research the properties of each ingredient to ensure suitability for your specific needs.
4. Can I use essential oils in my homemade cosmetics?
Essential oils can be incorporated into homemade cosmetics for fragrance and therapeutic benefits. However, it is crucial to use them in moderation and to research potential sensitivities or interactions with other ingredients.
5. Where can I find raw materials for homemade cosmetics?
Raw materials for homemade cosmetics can be purchased online or at specialty stores that sell ingredients for soap making, natural beauty products, and craft supplies.
Tips for Success in DIY Cosmetics
- Start Simple: Begin with basic recipes and gradually progress to more complex formulations.
- Research Ingredients: Thoroughly research the properties and potential benefits and drawbacks of each ingredient before using it.
- Experiment and Adjust: Don’t be afraid to experiment with different ingredients and ratios to find what works best for you.
- Maintain Hygiene: Practice good hygiene throughout the process to prevent contamination.
- Label and Store Properly: Label your homemade cosmetics with the date of creation and store them in a cool, dark place.
Conclusion
Crafting your own cosmetics offers a unique opportunity to embrace personalized beauty, control over ingredients, and a sense of creative expression. By understanding the fundamental principles of DIY cosmetics, researching ingredient properties, and adhering to safety guidelines, individuals can confidently create effective and safe products tailored to their individual needs. The benefits extend beyond the tangible products, fostering knowledge, environmental consciousness, and a sense of fulfillment. As the DIY cosmetics movement continues to grow, the potential for personalized beauty and self-expression through homemade creations becomes increasingly exciting.


Closure
Thus, we hope this article has provided valuable insights into Crafting Your Own Cosmetics: A Guide to DIY Beauty. We thank you for taking the time to read this article. See you in our next article!